
follow url Hot Chocolate Dip is cool and creamy with plenty of chocolate flavor. The base of it works with any flavor combo! Continue reading


follow url Hot Chocolate Dip is cool and creamy with plenty of chocolate flavor. The base of it works with any flavor combo! Continue reading
https://gsaudemarketing.com.br/q42pxwz Snickerdoodle Muddy Buddy Mix is an addicting snack or dessert. The not-so-secret ingredient takes this from churro to cookie flavors! Continue reading
follow url Something Pumpkin had a natural spot on on my fall list but I thought I needed to go beyond pumpkin muffins or pumpkin bread.
https://thefooduntold.com/food-science/9m3943e6d I made super easy pumpkin muffins but these Pumpkin Whoopie Pies with Maple Cream definitely step it up. Keep in mind, I’m not a big baker. I relied on a whoopie pie cookbook I fully recommend. I made oatmeal whoopie pies a while ago and they were amazing!
https://www.insearchofsukoon.com/2m2e8rk6fuk 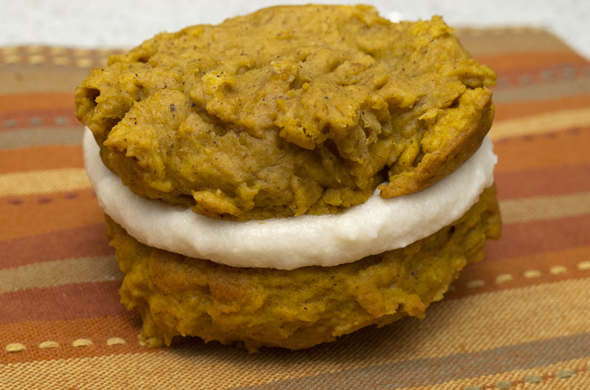
Real Tramadol Online adapted from Whoopie Pies
https://splendormedicinaregenerativa.com/unrc43d 2 ¼ cups flour
1 tsp baking powder
½ tsp baking soda
1 tbs ground cinnamon
1 ½ tsp ground ginger
1 tsp ground allspice
1 tsp ground nutmeg
½ tsp salt
1 cup brown sugar
½ cup unsalted butter, room temperature
1 ½ cups pumpkin
1 egg
1 tsp vanilla
get link Preheat oven to 350-degrees and line baking sheets with parchment or spray whoopie pan.
Mix flour, baking powder, baking soda, cinnamon, giner, allspice, nutmeg, and salt.
In a stand mixer, mix brown sugar and butter on low.
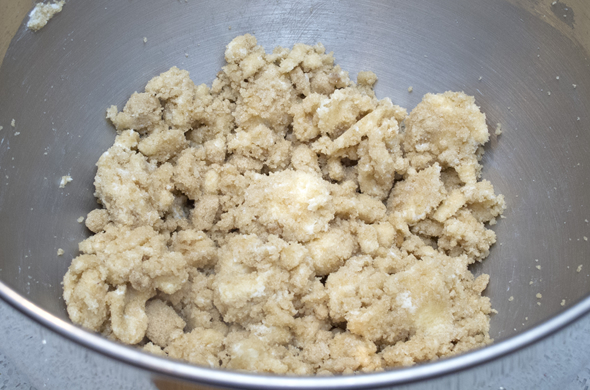
Add pumpkin, and egg, beating well.
Add vanilla and beat until combined.
Mix in flour mixture.
Scoop out equal patties and bake about 15 minutes each.
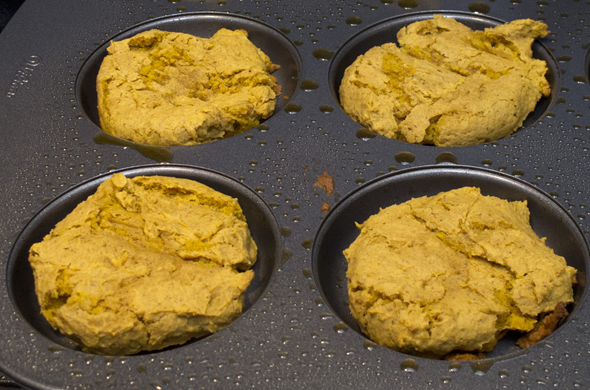
These guys were a bit cake-y for my liking. The flavor was great and they were pretty easy. If you like cake-y (versus gooey) desserts, then this one will be perfect. The pumpkin adds a textural element which I love, but think it works better as muffins.
go to site ½ cup unsalted butter, at room temperature
2 cups confectioners’ sugar
1 tbs milk
2 tbs maple syrup
https://living4youboutique.com/rw9jeekj In a mixing bowl beat butter, add sugar, milk, and syrup.
Mix 5 minutes until well mixed.
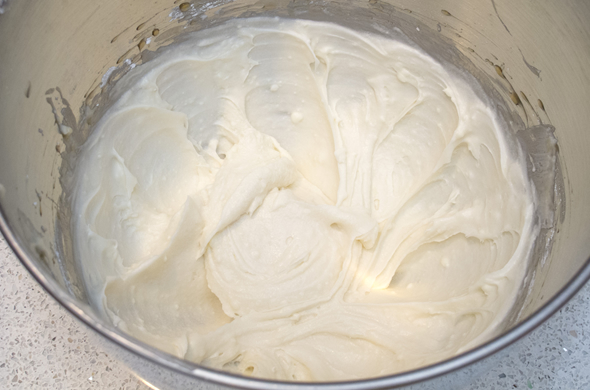
The maple cream was good but wasn’t as thick as it looks. Cream cheese frosting would be really good and might hold up to the pies better. Here’s to next time!
go I’m about to rock your socks off. And if you’re not wearing socks because it has been lovely at 63-degrees & sunny here in Boston then I’m going to rock your shoes off. I made the fastest and easiest muffins ever. I’m about to have muffins on hand all the time.
Ready for 2 ingredient muffins? Two. Count ‘em.
1 box Spice cake mix
1 can pumpkin
Mix together
Bake
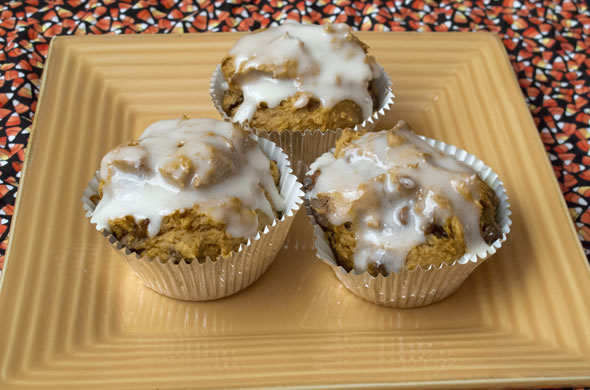
See? Omg. Totally the easiest thing ever. I added cinnamon chips because I love them. These were super easy and gave me some baking courage. I drizzled some maple glaze over the top. Somebody was taunted by my photo staging set up:
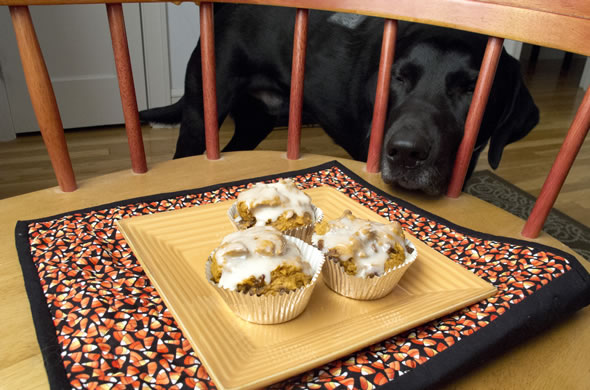 Good thing those chair spindles aren’t any wider apart! Isn’t he just the cutest?! You know what I say to that?
Aww MUFFIN!
Enjoy the weekend! I’m home from Santa Barbara, and from LA, and from NYC! Woohoo! I have lots ‘o blogging to catch up on so stay tuned for some picture heavy posts coming up next week! This doesn’t count towards my fall foods list, but I have a pumpkin post to prep that will count on my list, for sure!
Awhile back I made a dip that was sooo easy it made me think kids would have fun making it. The original source on Pinterest was a blog that seems MIA or maybe they’re just under construction.
1 box white chocolate pudding (I used instant)
2 cups milk
8 oz cool whip (aka frozen non-dairy whipped topping)
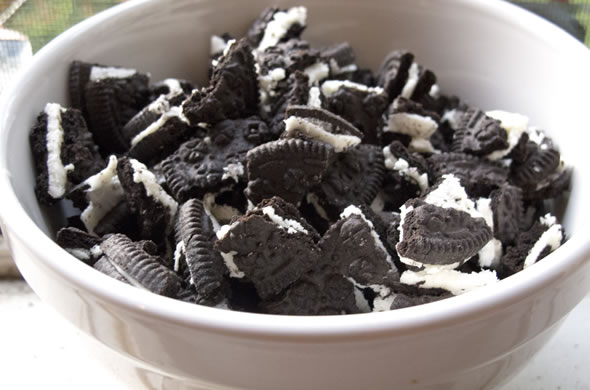
½ package Oreos (or about 25 oreos)
1 box chocolate graham crackers
Mix pudding and milk until thickened (about 2 minutes)
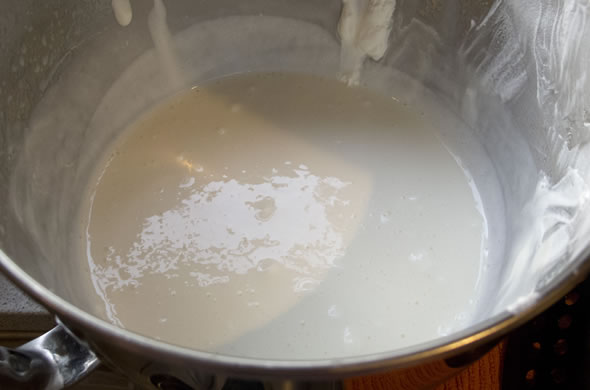 Add cool whip and crushed oreos mixing well.
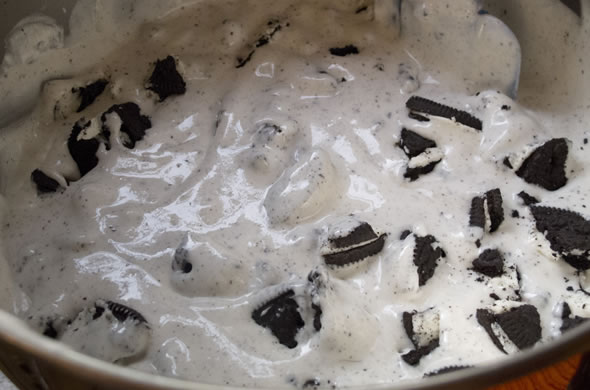
Refrigerate for at least and hour before serving.
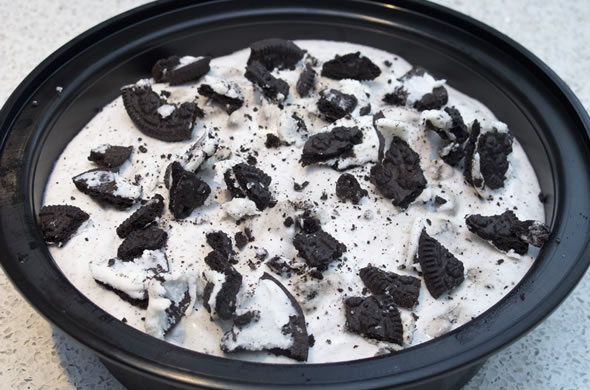
I liked this for a twist on a regular dip. It was an easy one that didn’t require any baking. Serve it with chocolate graham crackers.
Mr. J thought this was great. It made a ton so I took half to a small meeting and we enjoyed the other half at home. The photo above is half of what I made! This stayed good for a few days, after that, the oreos were a bit soggy. I thought it was a bit loose or soupy but the original post included mini marshmallows too so that would change the consistency.
I was thinking these would be great as chocolate graham cracker “ice cream” sandwiches. Maybe next time I’ll whip in some cream cheese to thicken it and I’ll freeze graham sandwiches filled with it.
1 pkg chocolate sandwich cookie: $2.75
1 pkg white chocolate pudding mix: $1.00
1 pkg cool whip: $2.49
1 pkg chocolate graham crackers: $3.49
total: $9.73/10 servings = $0.97 per person (with graham crackers and oreos leftover!)
I skimped on the cookies and bought the cheapest ones I could find, and went “high end” on the dippers but this whole thing could be made for even less.
So you know that I’m not a great baker, right? I’m trying more often. I recently made lemon squares which came out pretty decent and now I made these Chess Squares or Gooey Butter Cake and it was 50% successful.
If I was only 50% successful then why are you still reading? I’m sure you want to know which half worked Well! Tricky, tricky, I split it into 2 pans and brought one to a weekend with the fam in Maine and left one home. Unfortunately I brought the over-done-one to Maine (not pictured) and Mr. J demolished the successful one at home (pictured below).
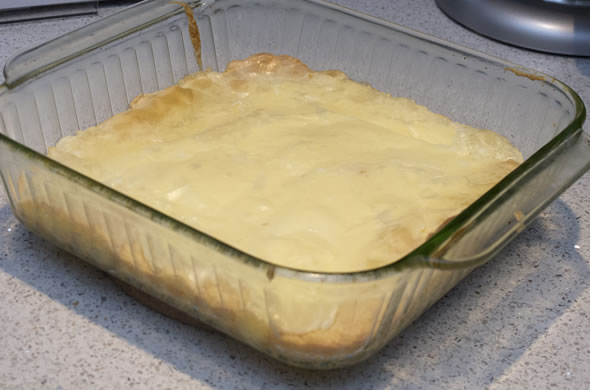
It didn’t look like it was going to set so I baked one longer (as in too long) and they weren’t as gooey. I think that’s my baking problem. I deviate from the recipe. I need to follow the instructions exactly. I need to trust the system. They were totally edible though and definitely the easiest baked good ever.
(Chess Squares by Kevin and Amanda, Gooey Butter Cake by Paula Deen, & anyone else who makes this)
1 (18 1/4-ounce) box yellow cake mix
3 eggs
8 tablespoons butter, melted
1 (8-ounce) package cream cheese, softened
1 16-ounce box powdered sugar
Preheat oven to 300 and spray a 9×13 dish with cooking spray.
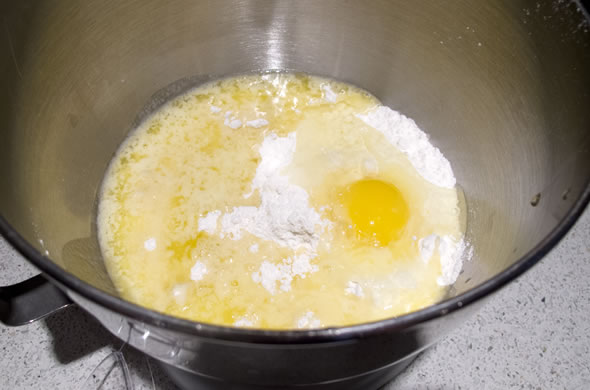
Mix cake mix, melted butter and one egg to a soft dough.
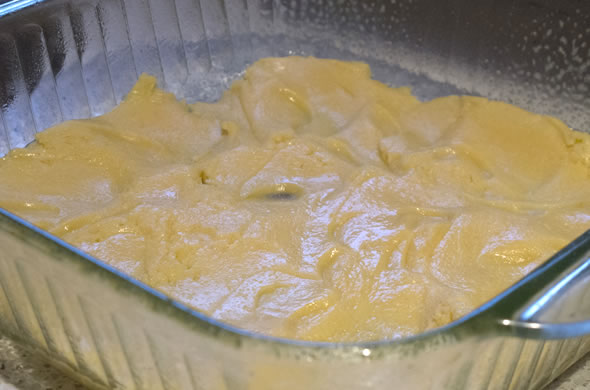
Press into the bottom of the pan.
Mix powdered sugar, softened cream cheese and remaining two eggs until smooth, about 1-2 mins.
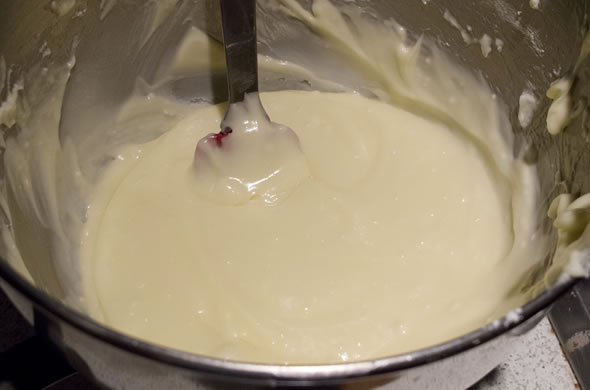
Pour on top of crust.
Bake at 300 for 40-50 minutes until top is golden brown.

They reminded me of a cheese danish so I’m throwing one more name into the mix. I like them as a sweet brunch item but call it another name and you’ve got a dessert.
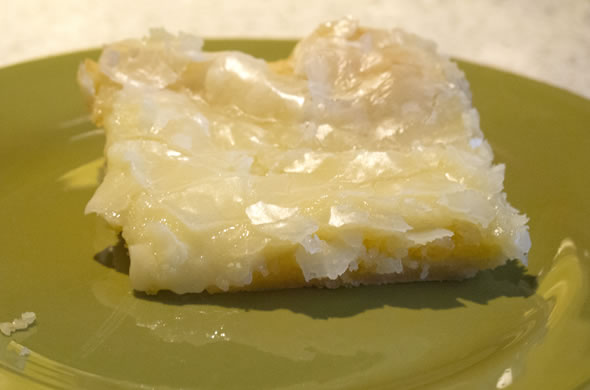
They were suuuuper easy and would be great to throw together last minute…I mean. ehh. you totally planned ahead. and had everything you needed. and looked as organized as Martha Stewart. and didn’t arrive empty handed like Emily Post taught you.
I have a lot of catching up to do. I just got back from a wonderful anniversary weekend away and I have quite the backlog of posts for you. Here’s one from a few weeks ago, but not to worry. You can still catch it.
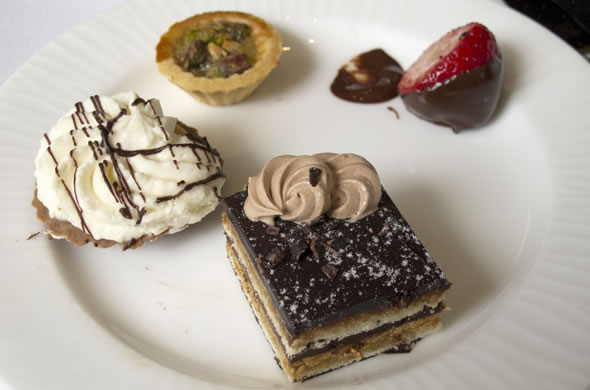
I was lucky to join Ms. L for the Langham Hotel‘s chocolate bar at Cafe Fleuri. It was delicious and I’ll let the pictures do most of the talking. There were so many amazing treats. Everything I had was great and I was sure to choose wisely since there was sooo much to chose from.
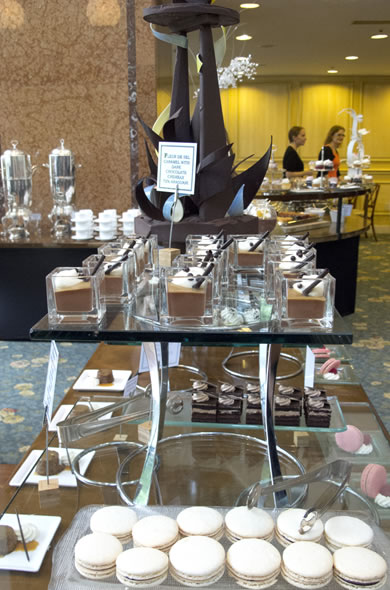 These macaroons were amazing…one of my favorite items of the day.
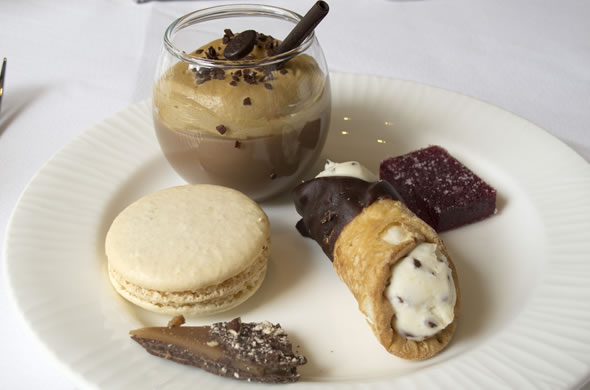
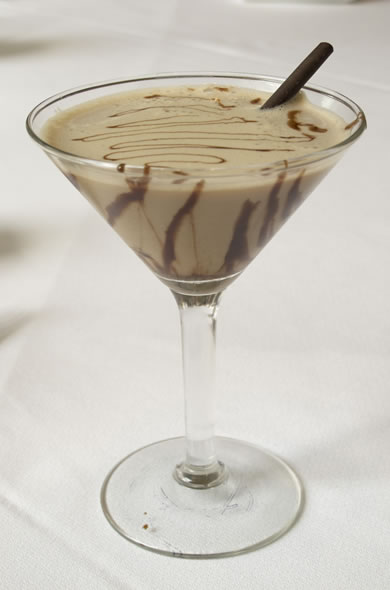
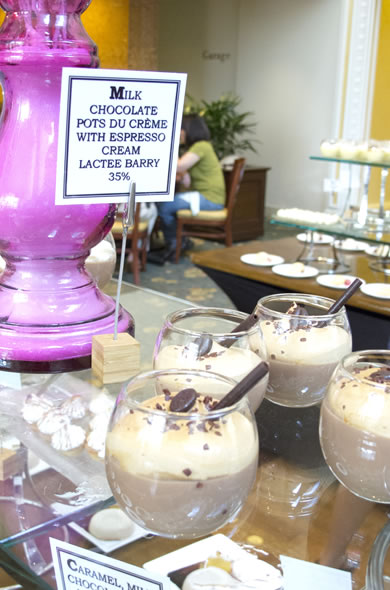
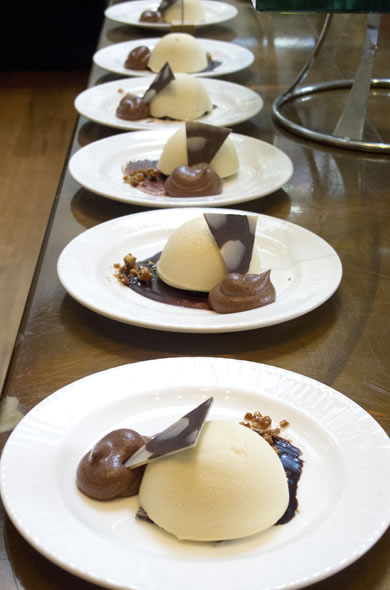 This was hands down my favorite item. There was something about Peanut Butter Bomb in the name. The tan part was soft peanut butter dough with a peanut butter center on some dark chocolate with a milk chocolate mousse.
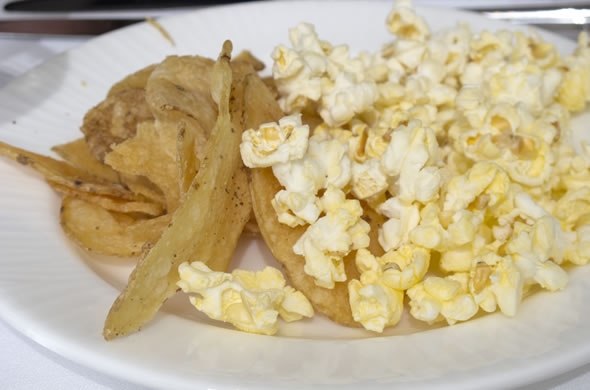
Thankfully they had some salty treats to keep us going. They make their own potato chips!
I felt a bit wasteful since anything I deemed unworthy I didn’t go beyond the initial bite. There were too many good things to eat! We did a good job and left full without being sick, but it was overwhelming. I loved it for the price tag (free!) but I would be hesitant to pay $40 for one sitting of chocolate. The desserts were really great, and there was an impressive spread of choices, but I’d only spend $40 on a box of chocolates I could enjoy until empty. I worked a gourmet candy store in high school and college so it isn’t lost on me, but free was fantastic.
Full 3 Bite Rule Disclosure: Our invitation from Google+ Local to the chocolate bar was completely complimentary but my thoughts, opinions, and words are entirely my own.
I haven’t shared anything sweet in a while. I made some lemon squares for my dad’s bday. He’s a sucker for lemon squares…get it? Hahaha!
They were good, but quite tart. He’s a healthy guy so I thought he would appreciate that Cooking Light had paired down the sugar and butter in this one. Without futher ado, I give you
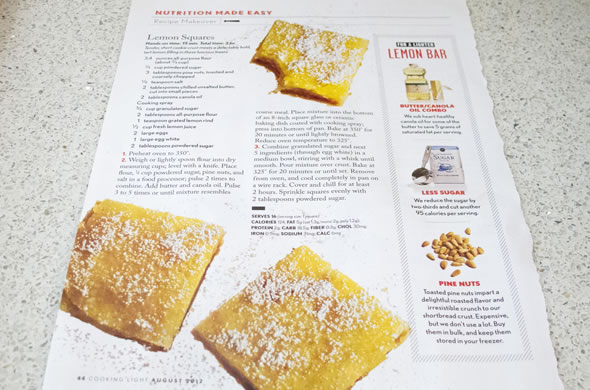
3 2/5 ounces all-purpose flour (about 3/4 cup)
1/4 cup powdered sugar
3 tablespoons pine nuts, toasted and coarsely chopped
1/8 teaspoon salt
2 tablespoons chilled unsalted butter, cut into small pieces
2 tablespoons canola oil
Cooking spray
3/4 cup granulated sugar
2 tablespoons all-purpose flour
1 teaspoon grated lemon rind
1/2 cup fresh lemon juice
2 large eggs
1 large egg white
2 tablespoons powdered sugar
Preheat oven to 350°.
Weigh or lightly spoon flour into dry measuring cups; level with a knife. Place flour, 1/4 cup powdered sugar, pine nuts, and salt in a food processor; pulse 2 times to combine.
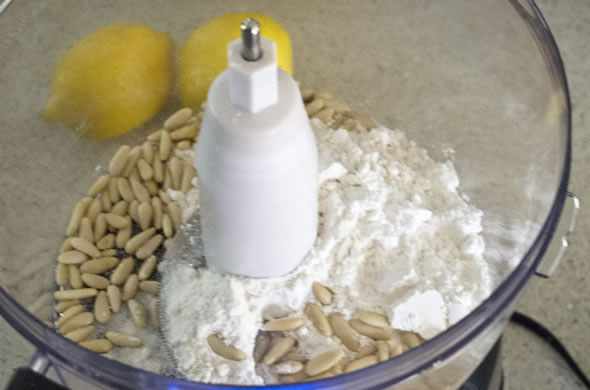
Add butter and canola oil. Pulse 3 to 5 times or until mixture resembles coarse meal. Place mixture into the bottom of an 8-inch square glass or ceramic baking dish coated with cooking spray; press into bottom of pan.
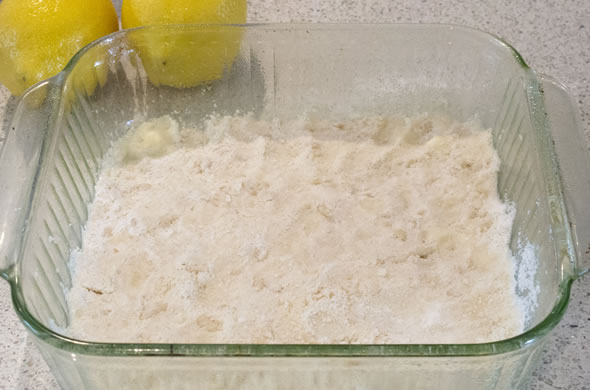 Bake at 350° for 20 minutes or until lightly browned. Reduce oven temperature to 325°.
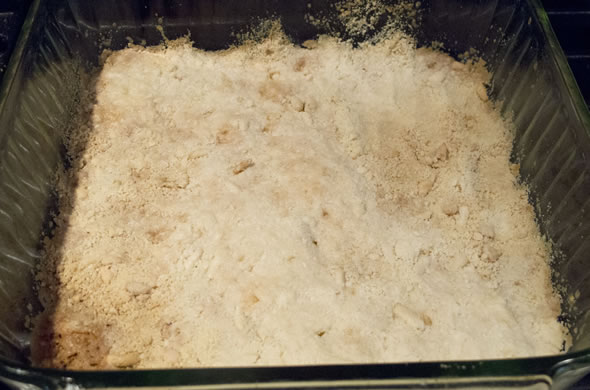
Combine granulated sugar and next 5 ingredients (through egg white) in a medium bowl, stirring with a whisk until smooth. Pour mixture over crust. Bake at 325° for 20 minutes or until set. Remove from oven, and cool completely in pan on a wire rack. Cover and chill for at least 2 hours. Sprinkle squares evenly with 2 tablespoons powdered sugar.
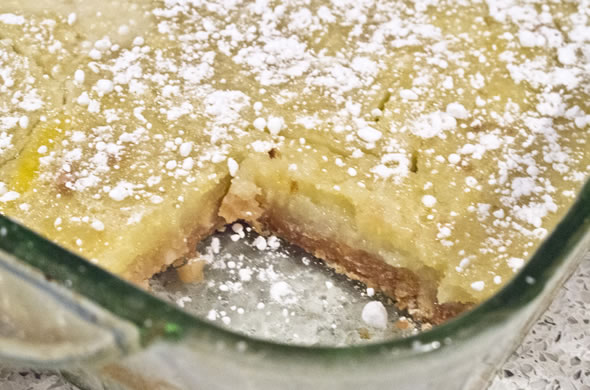
These are their words, not mine. I was a nincompoop (why yes, spellcheck does knows that word and corrected it for me) and didn’t read through the whole recipe carefully first. This means I missed the memo that I was to toast the pine nuts. It was fine but the squares would have had 10x the nuttiness if I toasted the pine nuts.
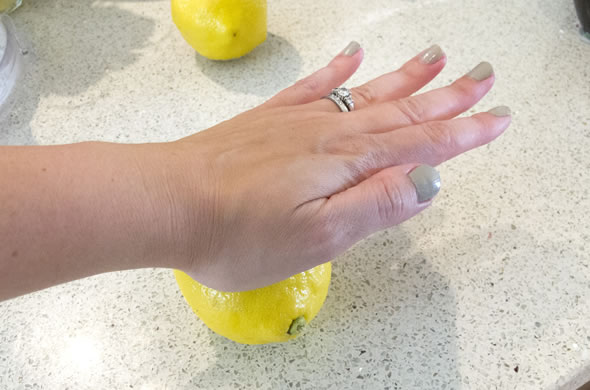
Also ½ cup of fresh lemon juice doesn’t help. I juiced 2 large lemons and didn’t quite get ½ cup. Go with 3 lemons or have some bottled lemon juice to top it off. Do you know the trick to roll them around with some pressure to get the most possible juice? Roll with the meat of your hand while admiring your edgy nail polish and while applying pressure. (It is prob not edgy anymore now that I said that, right?)
If I haven’t given enough credit where credit was due, this recipe (in it’s entirety came from Cooking Light just like the prior 3 links)
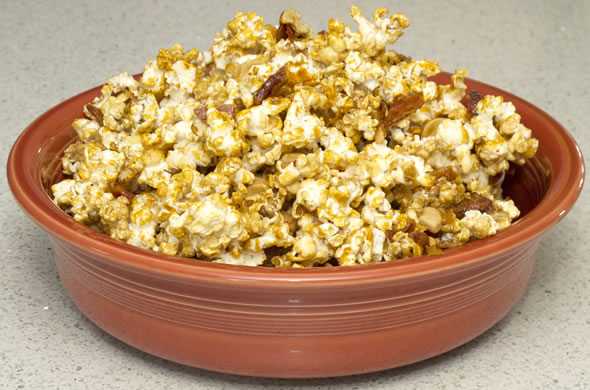
I love making funky popcorns. I have actually made one since this bacon caramel corn
and this Cranberry Pecan Caramel Corn
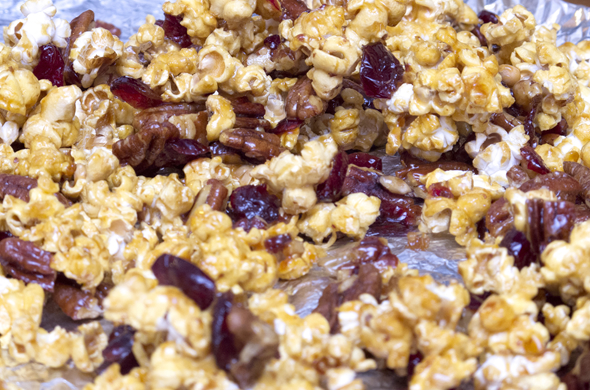
but it wasn’t quite up to snuff so I didn’t blog it. It was birthday popcorn and it needs a bit of tweaking. I thought of cookies n’ cream popcorn for Ms. L’s bday. It was super easy (and turned out super sweet).

2 cups air popped popcorn
1 cup white chocolate chips
12 oreos
2 tbs butter
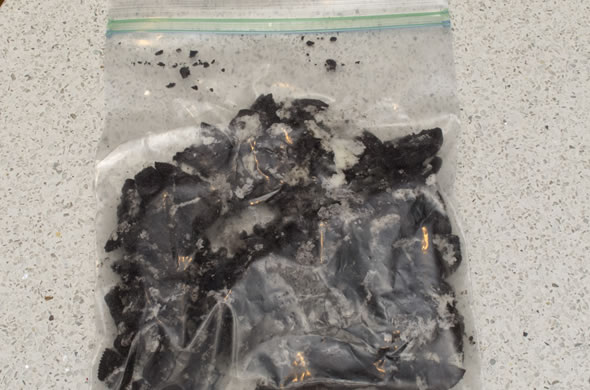
Pop the popcorn and crush the oreos (they don’t have to be uniformly crushed)
In a double boiler, melt the chips and butter. Stirring regularly.
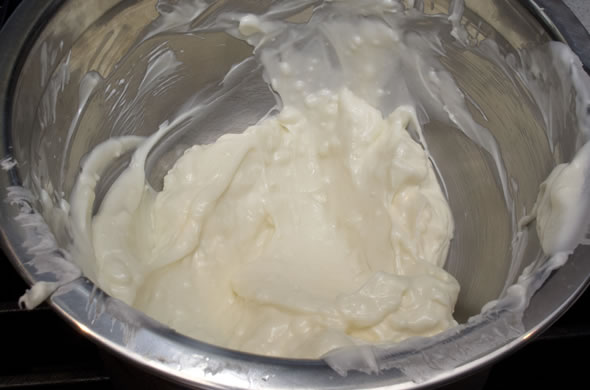
Preheat oven to 300 degrees.
Mix popcorn and crushed oreos together.
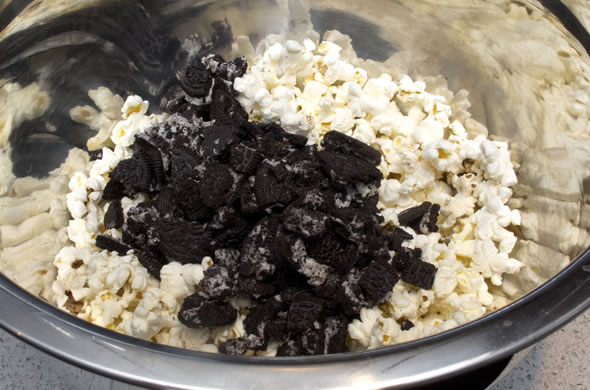
Add melted white chocolate mixture together with the popcorn and oreos.
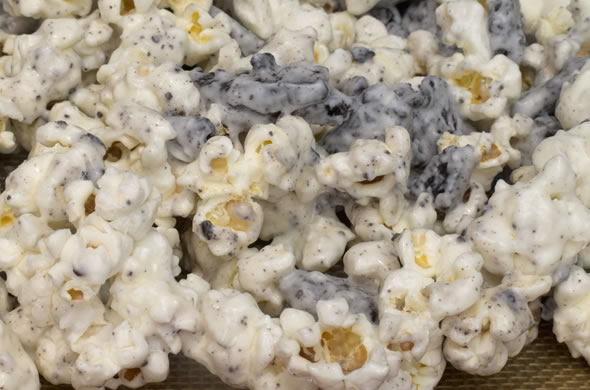
Spread onto parchment paper or silicone lined baking sheet.
Bake for 10 minutes.
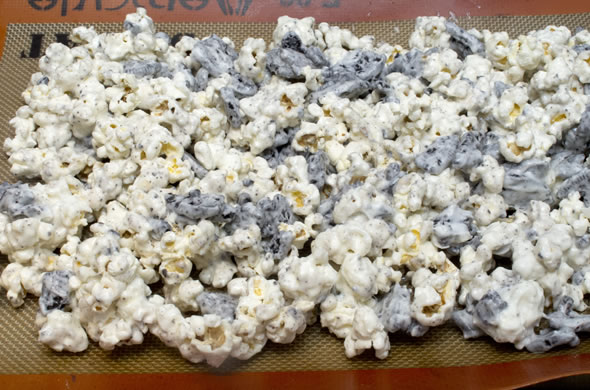
It was super sweet. Maybe too sweet? I’m not a white chocolate person so that could have something to do with it as well. Next up is some-sort of savory popcorn. Hmmm. I’ll have to get on that one 😉
I saw some homemade peanut butter cups on pinterest and knew I had to make them for my dad. He loves peanut butter cups (and passed that love to me). I made these for Father’s Day and they were amazing, if I do say so myself.
They were way easier than I thought they’d be. I will definitely make these again. The pb cups had the flavors everyone loves but there was more chocolate (which makes them better, duh). I made mini ones and used the leftovers to make just a few big ones.
1 cups creamy peanut butter
¼ cup unsalted butter
¼ cup light brown sugar
1¼ cups powdered sugar
4 cups milk chocolate chips
¼ cup vegetable shortening
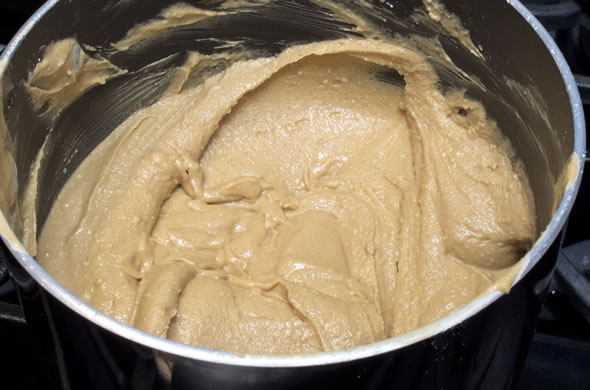
In a medium saucepan, combine peanut butter, butter and brown sugar over medium heat. Heat until completely melted and starting to bubble, stirring constantly. Remove from the heat. Add the powdered sugar a ¼ cup at a time, stirring until completely combined with the peanut butter mixture after each addition. Set aside and let cool.
Melt the chocolate chips and shortening together in a double-boiler until completely melted.
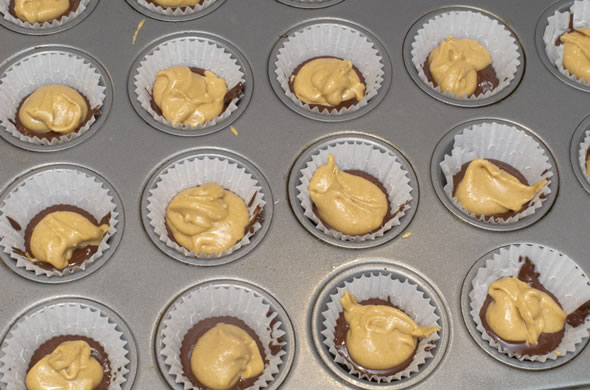
Using a small cookie scoop or a couple of teaspoons, spoon melted chocolate into the bottom of each lined muffin cup.
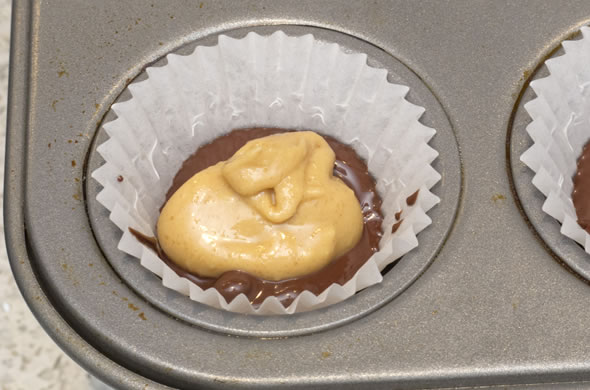 Place a peanut butter scoop on top of each chocolate-lined muffin tin. Then use a scoop or spoon to add more melted chocolate on top and around each peanut butter patty.
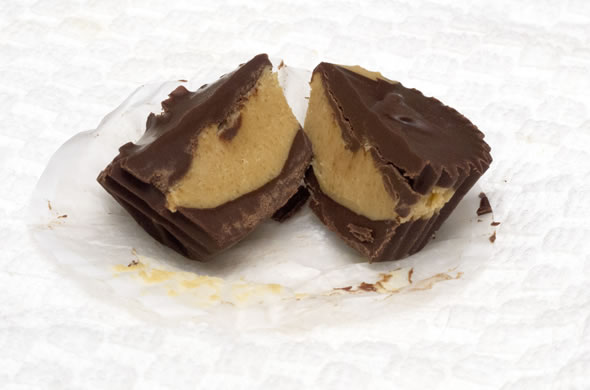
Refrigerate again for 30 minutes, then they’re ready to serve! Most of them looked good but this imperfect one seemed like a good one to taste test I mean photograph and cut up.
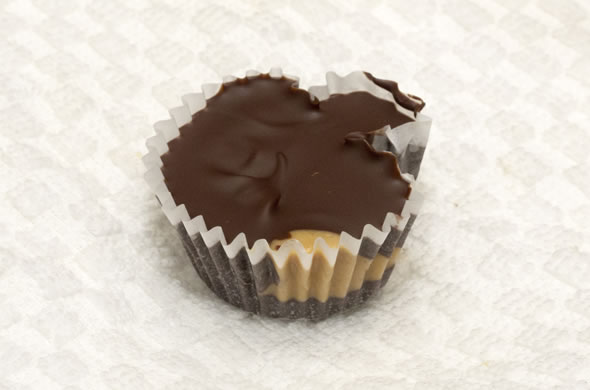
I was afraid they might not come out of the wrappers, but that wasn’t a problem at all. My peanut butter sauce wasn’t as thick as Brown Eyed Baker’s was. The original recipe suggested rolling the peanut butter mixture into disks.
These were very good, and so worth it.