This very veggie sandwich hits colors, textures, flavors, and requires 2-napkins. Continue reading
{originally published in 2012 and updated in 2024}
These are possibly the most-repeated dish from the blog. We’ve been having these since using a grill pan in our apartment way back when and now have them regularly in the spring and summer. They’re so good and such a crowd-pleaser.
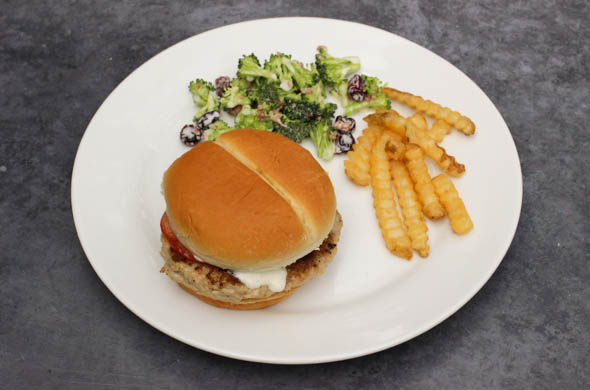
Ranch Chicken Burgers
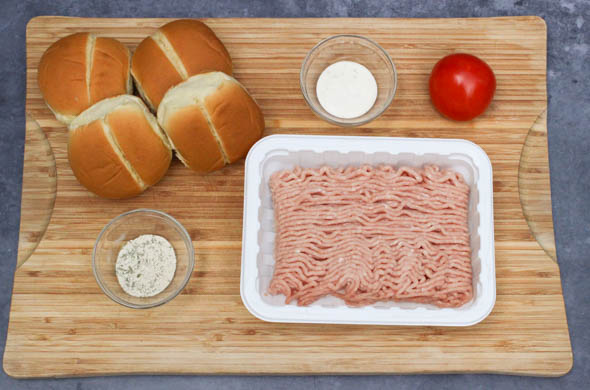
Ingredients: (for 4)
1 pound ground chicken
1 packet dried ranch dressing/dip mix (~2 teaspoons)
3 tbs ranch dressing
4 rolls
Directions:
Preheat the grill.
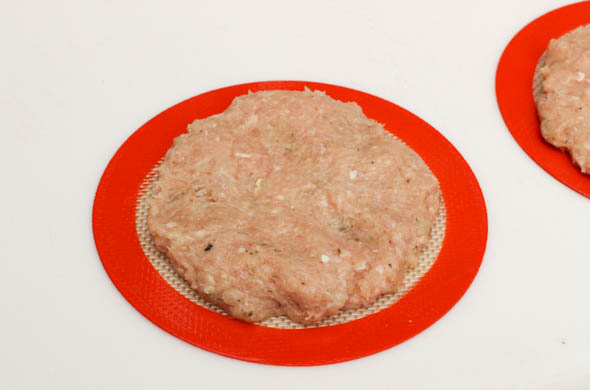
Mix together the ground chicken, ranch mix, 1 teaspoon of ranch dressing – reserving the rest for topping.
Form into 4 patties.
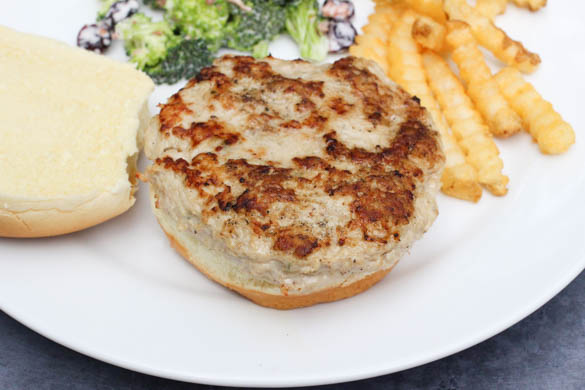
Sprinkle with salt & pepper then grill until cooked through 165-degrees being careful not to flip too often. These cook well on a griddle.
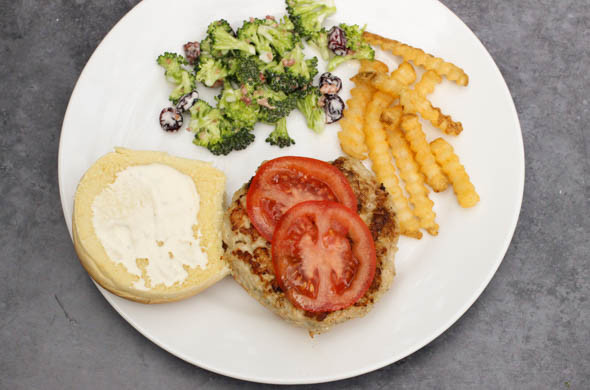
Serve on buns with more ranch and any toppings you like!
Enjoy!
We have these often but hadn’t yet this year. The kiddos didn’t remember them and each ate it all! There’s the lesson – repeat a previous dinner, nobody remembers how often you serve something! We each added ranch on the buns and these are great with lettuce, tomato, pickles, or anything! I think the kids add ketchup.
Tomato jam belongs everywhere and is perfectly highlighted in these grilled cheeses. Continue reading
Easy Greek Hummus dip that goes with everything and is a crowd fav. Continue reading
French Onion Soup but hand held as a burrito. This has melty cheese, mushrooms, and arugula for something fresh that isn’t brown! Continue reading
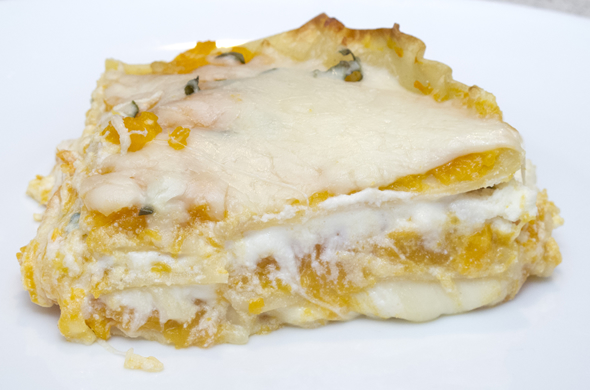
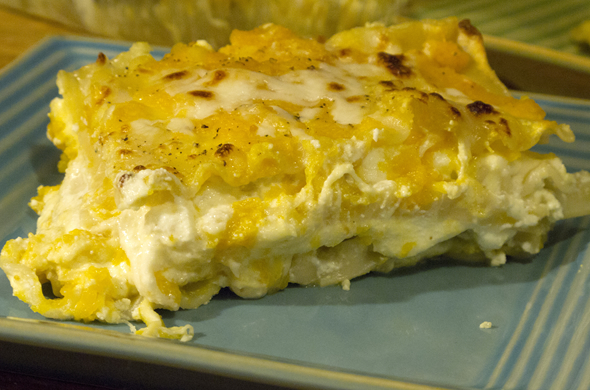
I posted this butternut squash lasagna last year but I thought it it needed a little re-do.
Don’t judge this lasagna until you try it. It is seriously so good and a great fall food. I love this one! It is much faster to prep & cook than traditional Italian lasagna.
(adapted from Martha Stewart)
1 butternut squash, roasted
16 oz ricotta cheese
½ cup cream cheese
1 egg yolk
1 1/2 cups shredded mozzarella cheese
½ cup Parmesan cheese grated
1 cup chicken (or vegetable) stock
½ box lasagna noodles
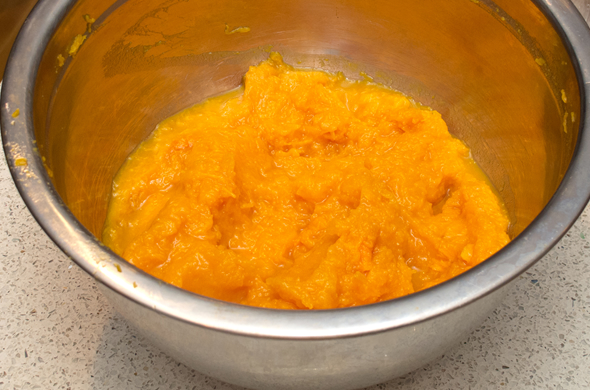
Roast butternut squash with olive oil, salt, and pepper for about 30 minutes at 425 degrees. (this could be done the day before)
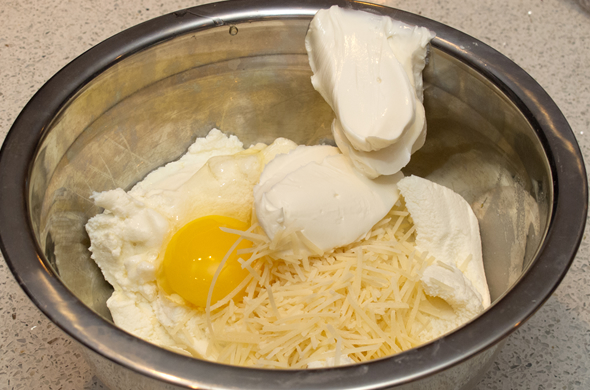
Combine ricotta, cream cheese, egg yolk, and ¼ cup Parmesan cheese.
Mix squash and chicken stock over medium low heat.
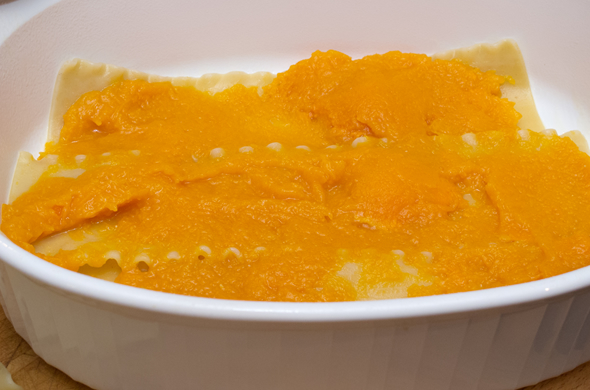
To assemble lasagna: spread noodles on the bottom of a 9×9 baking pan; top with ricotta mixture and some cheese; layer more noodles; top with butternut squash mixture.
Repeat laying noodles then ricotta and cheese, then noodles, then squash and repeating until all the layers are used.
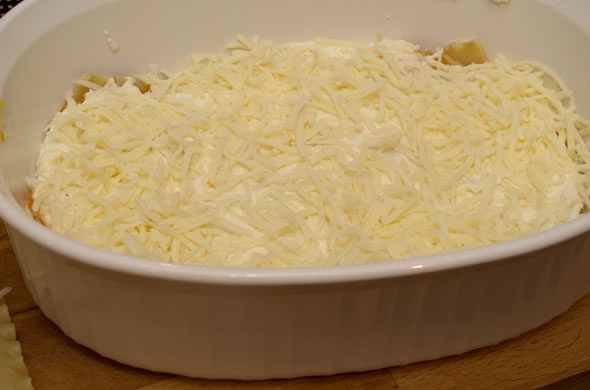
Sprinkle some cheese on top.
Bake 30 minutes at 375.
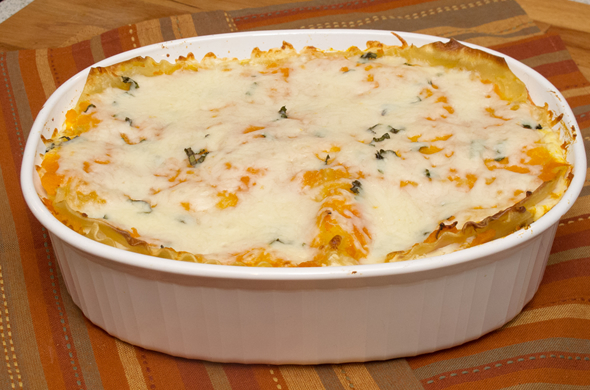
I sprinkled some fresh basil in there. I love the flavor combo and I hadn’t grabbed a package of sage. I think the fresh-factor is important and sage makes it more fall-ish.
See? Pretty simple and it’ll feed a crowd. It is a great dinner to prep in advance and stick in the oven for just little fuss. It reheated well and I froze leftover pieces.
1 butternut squash: $1.89
16 oz. ricotta: $1.99
4 oz. cream cheese: $0.62
1 egg yolk: $1.24
16 oz. mozzarella: $3.59
4 oz. Parmesan cheese: $1.98
8 oz. chicken stock: $0.11 ($2.99 jar/25 cubes=11 cents per cube/cup)
8 oz. lasanga noodles: $1.00
total cost = $12.42/9 servings = $1.38 per serving
Even cutting larger pieces (6 instead of 9) comes to $2.07 per serving!
I had some leftover noodles. Early on in your layers, take a quick count how many noodles fit so you don’t run out mid layer when you could have scooched a few. I cut the up the leftover noodles with a little sauce and some cheese. Pow! Pop a meatball on and I’ve got a last minute dinner in the freezer some night! My resourceful Momma taught me well!
Thank you to Country Crock for sponsoring this post. Visit and tell us your favorite Thanksgiving veggie for extra entries into this giveaway. I was selected for this opportunity as a member of Clever Girls Collective.
Today I have a very special GIVEAWAY but first we’ll chat Thanksgiving.
Halloween is over, on to the next foodie holiday!I haven’t hosted Thanksgiving yet but I’m always happy to provide a side to whichever family is graced with my presence. I tested out a veggie side using Country Crock and it was awesome! I tried my hand at a few Thanksgiving-y dinner items.
1 pound fresh brussels sprouts, trimmed and quartered
3 tbs Country Crock
4 slices of bacon
1/4 cup maple syrup
a few drips of liquid smoke (optional)
1/3 cup dried cranberries (optional)
Steam brussels sprouts until just starting to soften (they’ll cook more in the pan)
Melt Country Crock in a saute pan.
Add brussels sprouts to Country Crock and cook for about 5-7 minutes on medium high heat, stirring occasionally.
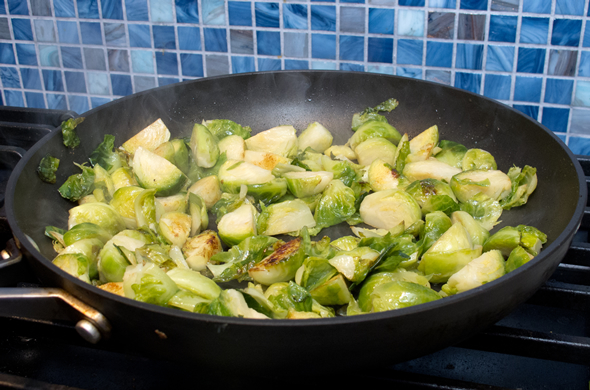
Once sprouts have begun browning, add in maple syrup, liquid smoke, bacon and cranberries.
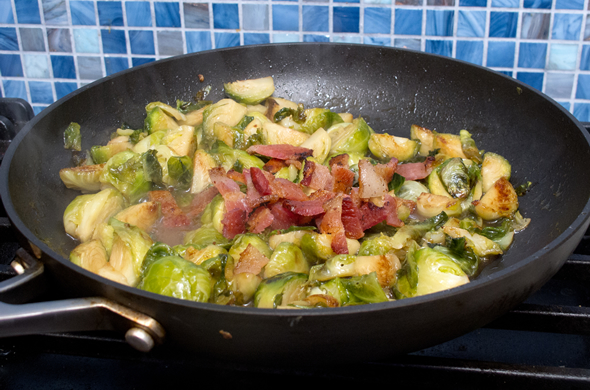
Cook another 2-3 minutes, stirring well, then remove from heat.
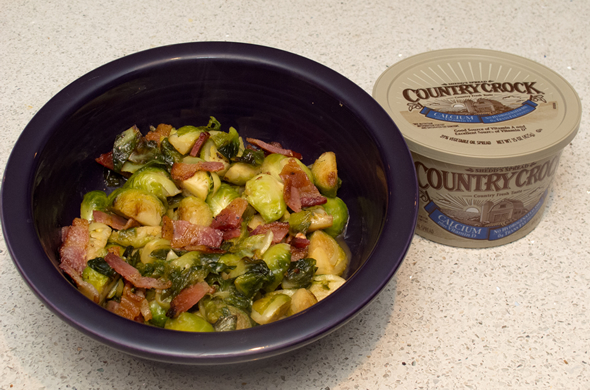
This was great. Bacon makes everything better so don’t forget that one. I added some liquid smoke to give it a touch of earthiness. The bacon adds that too, but I think liquid smoke is a great addition to anything with bacon. I put it in chili too. The Country Crock adds the perfect golden creaminess without too many calories or trans fat.
I somehow forgot that I was going to put the dried cranberries in. It would have added a nice red (and tart!) punch.
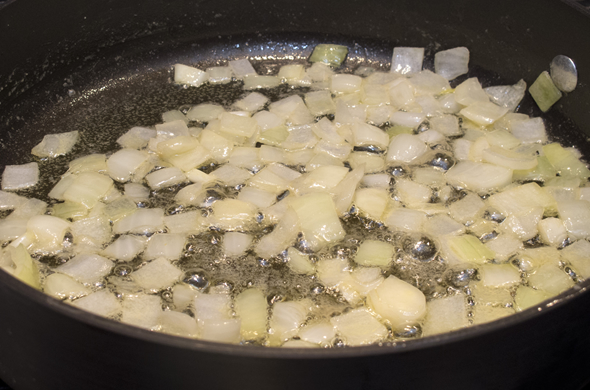
I also made stuffing cups so my Thanksgiving side wouldn’t be lonely. This wasn’t really a recipe, I just added and threw it all together. I gently cooked onions in a few tablespoons of Country Crock.
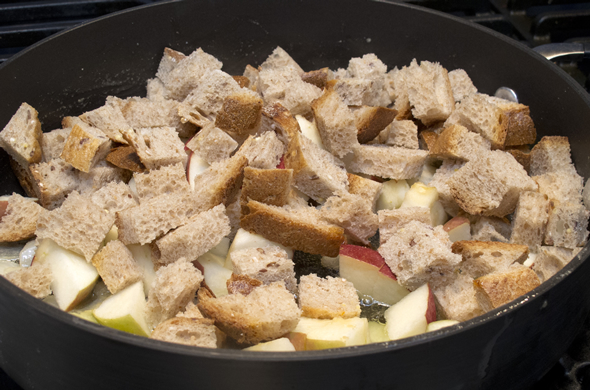
I added in two different kinds of bread, chopped with chopped apple, thyme, and a splash of white wine.
I baked it for 20 minutes in muffin cups so it would be single serve-able.
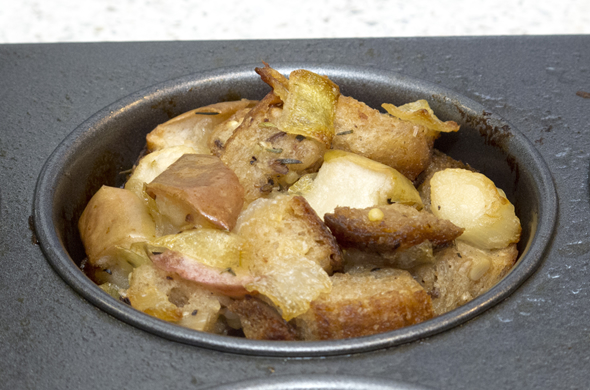
They didn’t stay together too well. Ohh well! I liked how perfect the textures played together. The apples and onions totally helped make this better than out-of-the-box. Can you believe how few ingredients it takes?!
I served these two winning sides along with some turkey meatloaf muffins I saw. Nothing like some stellar sides to accompany a frozen quickie dinner.
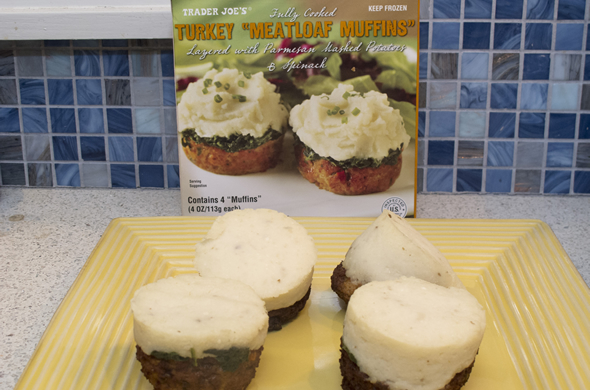
What Thanksgiving sides do you graviate towards? Check out some of these other sides (spoiler: I have my eyes on that spoonable cornbread!)
what you’ll win:
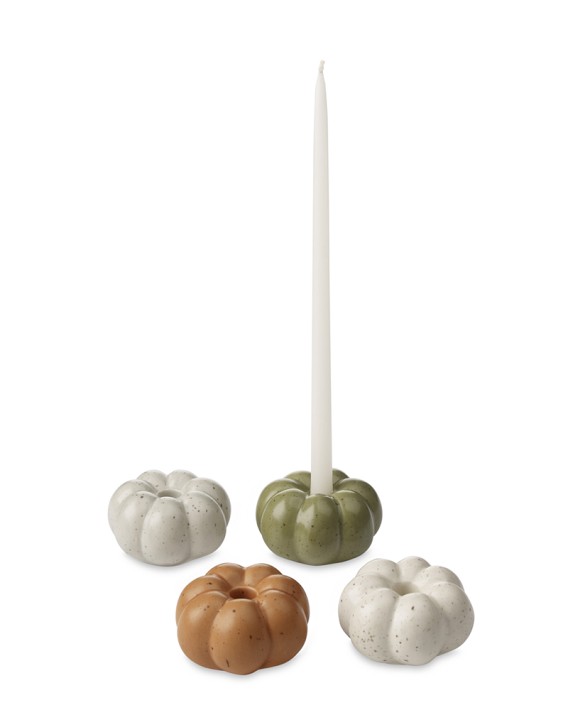
Check out these awesome Williams Sonoma candle holders here
Check out this Sur la Table baking dish with wire basket here
****This giveaway has ended. The winner is # 9, Kim F! Thank you for your support and I hope you enjoyed the Thanksgiving side!****
when to enter: now until Sunday November 4 at midnight EST.
how to enter: leave a comment telling us your favorite Thanksgiving side!
extra entries: follow The Three Bite Rule on facebook then leave another comment letting me know you follow
extra entries: follow @threebiterule on twitter then leave another comment letting me know you follow
extra entries: check out Country Crock’s other ideas and leave a comment there, and back here letting me know you did.
Thank you to Country Crock for being a sponsor. I was selected for this opportunity as a member of Clever Girls Collective. All opinions expressed here are my own.
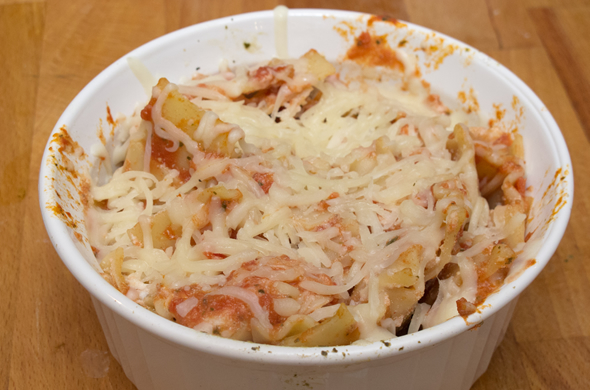
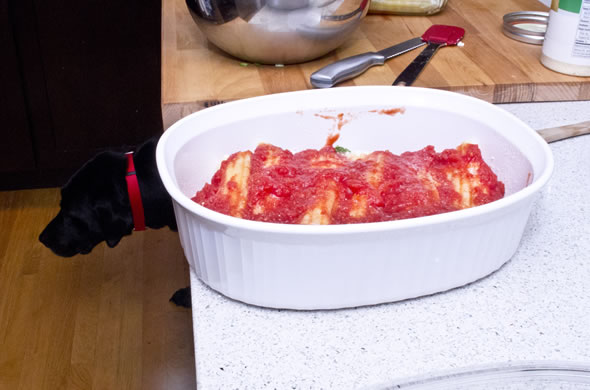
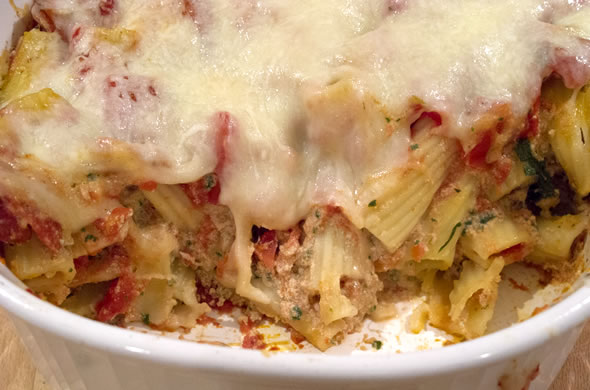
Manicotti is totally not seasonally appropriate but I don’t care. I love pasta in all forms and figured I’d try out manicotti one night when it wasn’t too hot to have the oven on. I can’t say this is my favorite. I really love lasagna and stuffed shells come in a close second, but my manicotti was good. They’re just tougher to assemble than stuffed shells. It was a labor of patience.
I should give Amy’s manicotti a try she learned to make it with Monterey jack slices instead of ricotta from her mom. That sounds easier and maybe cheesier!
Look who photo bombed my picture! Windsor is often underfoot in the kitchen so I figured I wouldn’t crop him out of this one. It’s a tough one to capture since he’s black against cherry cabinets so nevermind how over exposed it is, just look for the red collar!
1 box Manicotti shells
2 cups tomato sauce
32 oz. ricotta
1 egg
1 cup baby spinach (optional)
1 tbs chopped garlic
2 tbs Italian seasoning
1 cup shredded mozzarella
Boil manicotti until about 50% cooked, be sure not to overcook them then drain
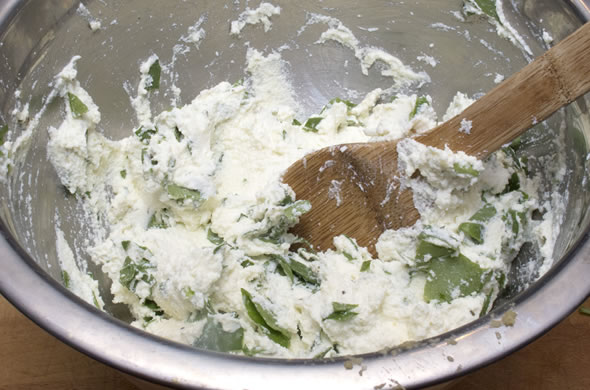
Mix ricotta, egg, chopped spinach, garlic, Italian seasoning, and ¾ cup mozzarella until combined.
Preheat the oven to 375 degrees and prep a baking dish with nonstick spray and ½ cup tomato sauce
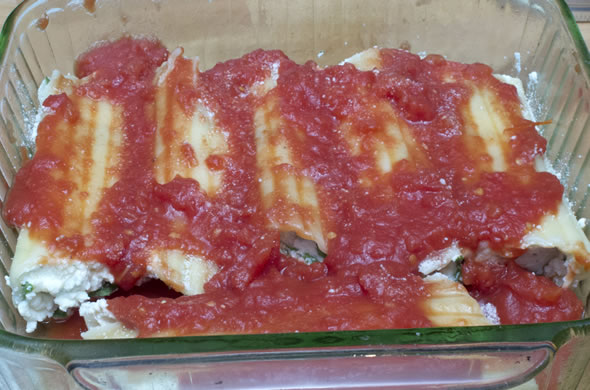
Carefully spoon ricotta mixture into the manicotti shells. (I used a teaspoon and filled using both ends (and gravity).
Spread sauce over the top, cover with foil, and bake for 35 minutes.
Remove the cover, sprinkle with remaining mozzarella and bake for another 5 minutes until golden and melty.
I added the spinach because I often have some leftover and it is an easy/healthy way to sneak a veggie into this. When I have leftovers I toss it into a plastic container in the freezer if I can’t use it right away. The ability to cook it or eat spinach raw makes it my favorite green.
This is a good one to make & freeze if you aren’t into eating it meal after meal! It would be a good one to give my cousins-in-law who are now new parents (if they weren’t 2,000+ miles away)!
If I just scared you off….
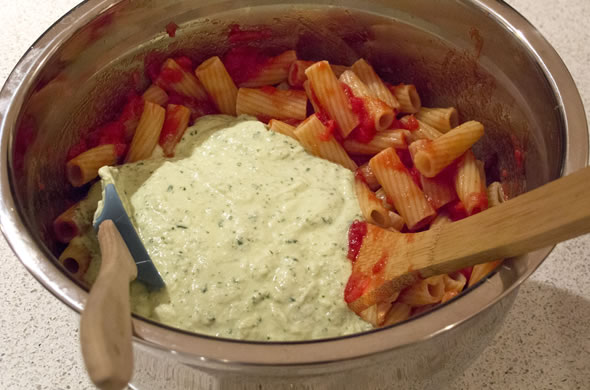
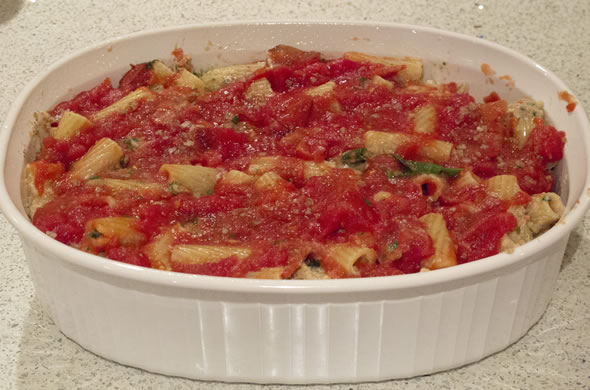
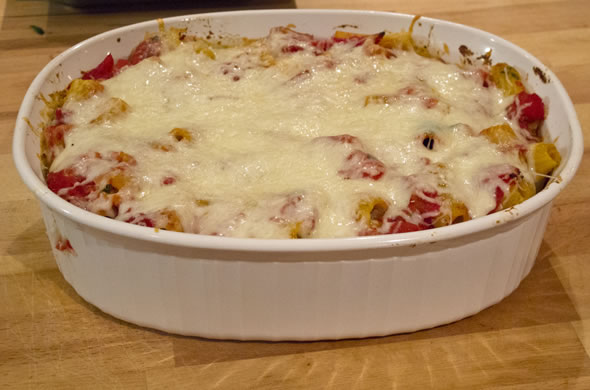
Check out my baked ziti for easier assembly
or check out Martha’s Butternut Squash Lasagna I made and fell in love with if you are wishing fall upon us
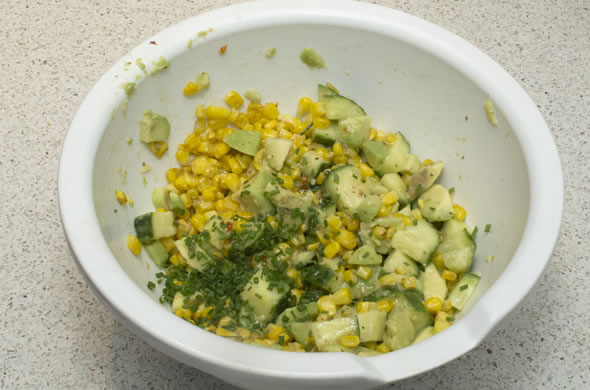
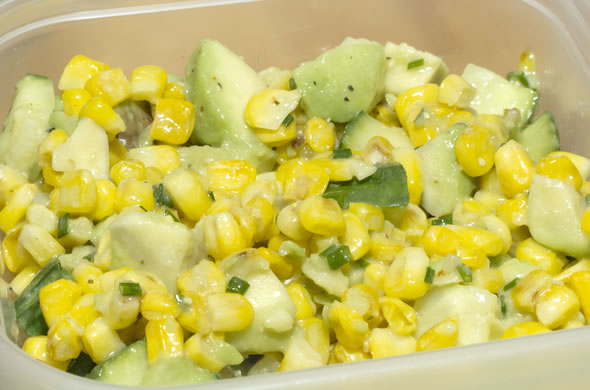
I have a brief (but delicious) one for you today. I just got back from San Fran and have a lot of catching up to do. I made this side salad for Father’s day since my dad is all about the avocados recently. It is a bit delayed but couldn’t be more perfect for the crazy heat we’re having here on the East Coast (San Fran, not so much). I liked it as an easy alternative for a veggie side.
2 cups corn
1 large cucumber (I used an English cuke so I didn’t have to peal it and there would be some dark green)
1 avocado
2 tbs chives (or green onions)
2 tbs Italian salad dressing
dash of salt
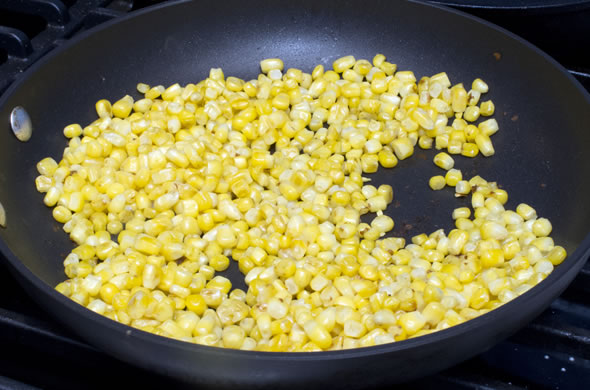
Cook corn and roast corn slightly (roasting = optional).
Chop cucumber, avocado, and chives.
Combine dressing with all the chopped ingredients and serve immediately.
Tip: leave out the avocado until serving but the rest can be prepped earlier that day
I like the color and textures in this one. I would have been tempted to throw in some tomatoes if I had any around. The chives came from my garden and yes, they are the only edible thing growing right now. I’m crossing my fingers for my tomato plant that seems to be rockin’ some green future-tomatoes.
I think it also lends itself well to a Mexican meal or if you have an abundance of fresh corn this summer! It is light and cool so serve it at your next bbq and throw any leftovers into a quesadilla or onto your salad or dip into it with chips.
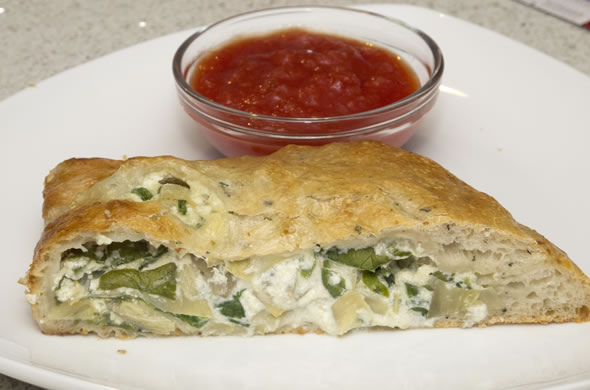
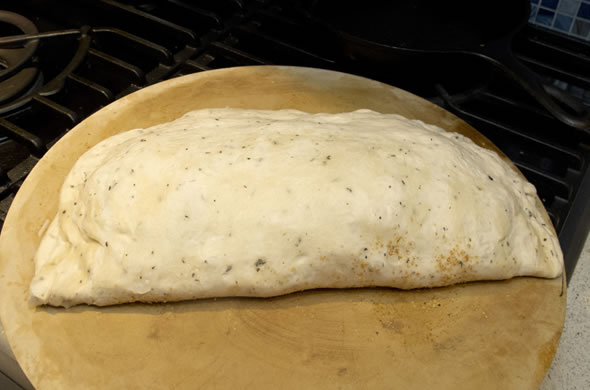
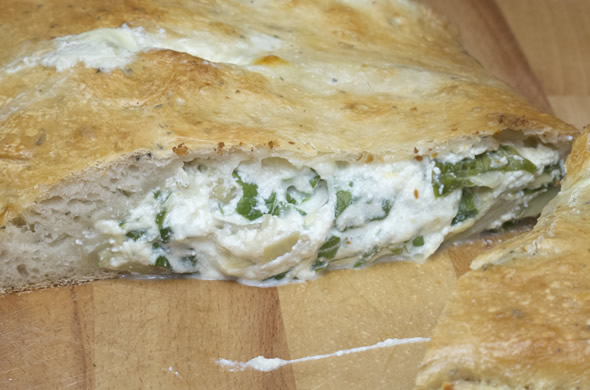
I’ll put almost anything in a calzone. I like to do a few meatless meals sprinkled throughout the regular scheduled items. It is such a cost saving and it is never a bad thing to add more veggies into our lives. This wasn’t my greatest calzone. I think I didn’t like that there wasn’t enough texture for my taste. The inside was flavorful but cheese + spinach + artichoke + more cheese, made for a gooey center.
1 pizza dough ball
12 oz shredded mozzarella
8 oz ricotta
2 cups baby spinach
8 oz artichoke hearts
1 tbs garlic, chopped
Preheat oven to 400 degrees
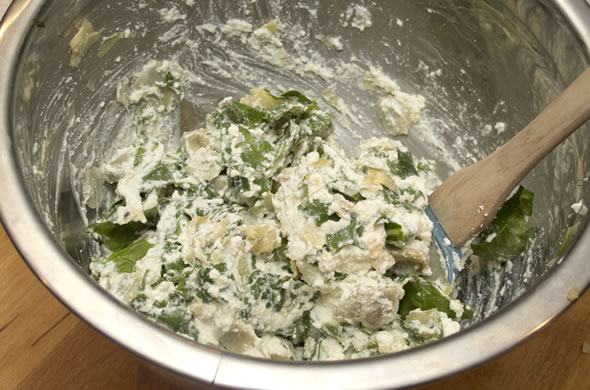
Mix ricotta, spinach, artichokes, and garlic together.
Gently stretch dough into a big circle and lay it onto a baking sheet with one half centered aka, the bottom of the calzone (with the other hanging off, aka the top).
Layer some of the filling spreading it out, almost to the edge.
Top it with mozzarella, layer on more filling, then more mozzarella until both cheese and filling runs out.
Carefully fold the top over to meet the other edge. Gently press the edges to seal.
Brush with eggwash, if desired.
Cut about 4 slits on the top to let steam out.
Bake 30-40 minutes and let stand at least 5 minutes before cutting.
This is an oozer! I waited and cut but it still oozed a bit. I mean, the inside is very malleable so it started escaping a bit. I can’t even imagine if I cut it immediately! Be sure to fill, fill, and fill the calzone some more. The worst homemade calzones are super doughy without much in the middle. Get that filling all the way to the edges too. The eggwash is optional. It’ll make the top shiny and restaurant-quality looking. I also never recommend trying to transport the uncooked calzone. Load it up right on the pan you’re cooking it on. You’ll hate your life trying to move it since you won’t have enough hands/spatulas/coordination to move it from your counter to the pan gracefully.
The flavors were good, and the crust was the crunch needed but I thought the inside was too much of the same texture. I think because I had a texture issue with this, I’d stick to spinach and artichoke as dip or maybe I’d do it as pizza. Check out my other calzones I’d recommend in a heartbeat.