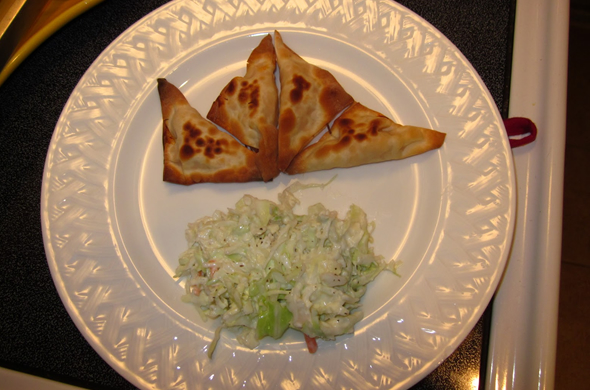
go to site This is a suuuuuper crazy time of year for me. Think laughing/crying/exhaustion with a never-ending to-do list. I love my job…it just that I have the whole year’s worth of stress compacted into only a few months. I love that folks wanted to help me with guest posts. Today I have Amy of Wicked Good Travel. You’ve met Amy before, here, and she was here, and I was on her blog here.
https://www.adroitprojectconsultants.com/2024/07/25/bqmfdmsn Baking and I are not friends. I was always more than happy to reap the benefits of baking that others did, but I wanted no part of hangin’ out with baking on my own. Cooking and I are serious BFFs though. We get along like a house on fire…is that a bad metaphor for cooking? Anyway, whenever baking and I got together it ended in tears, shouting, and hopping up and down in anger. This came along with a huge mess that looked like I’d murdered a platter of cupcakes and then tried to cover up my sins with a bag of flour. Seriously. It never went well.
https://etbscreenwriting.com/iysllehsh4 But lately as I’ve gotten increasingly better and more confident at cooking I felt like I needed a challenge. It started with homemade pasta. The first batch of pasta dough failed miserably, but then I watched a video and tried again and it worked! Then recently I wanted to make biscuits and gravy, but I didn’t have any pre-made biscuits I could pop in the oven, and I thought ‘well, if I’m really a food blogger, then I should be up for the challenge of making stuff from scratch as much as possible.’ So, I decided to try my hand at homemade biscuits. It all was going so well, until I failed to read the ingredients that said “self-rising flour” and used “all-purpose flour” instead, without adding any baking powder or baking soda. You might think at that point I would throw in the towel. But, that simple mistake suddenly flipped the switch in my brain, and seeing what happened to the biscuits minus that ingredient made it easier to understand why I needed to follow baking instructions more carefully.
https://www.insearchofsukoon.com/wa3nq6yvzky I know, it all sounds so obvious. And honestly, I did always know why following measurements and not swapping out ingredients on a whim while baking was important. But alas, I’m a creative, passionate type and I didn’t want to deal with that rigidity as I saw it. I wanted to be free to throw this in and add a pinch of that, or totally mix it up or sideways and get downright crazy! Since I couldn’t do that with baking, despite my valiant efforts, I shunned the activity.
enter site Yet, with this recent hiccup regarding the biscuits I found myself getting right back on the horse and the following weekend I made them again. And they came out perfectly. Suddenly, I had found that freedom I always thought was nonexistent with baking. I also found that yes, I could bake. I just had to pay attention as a beginner. Now, I was free to rule the world of baking should I wish! So, with that in mind, I decided to get seriously crazy. I decided… to make scones.
Blackberry Scones
https://etbscreenwriting.com/pywxewp41w modified from Baking Bites
Ingredients:
source link 2 cups all purpose flour
1/4 cup sugar
2 tsp baking powder
1/4 tsp salt
1/3 cup butter, chilled
3/4 cup milk
1 tsp vanilla extract
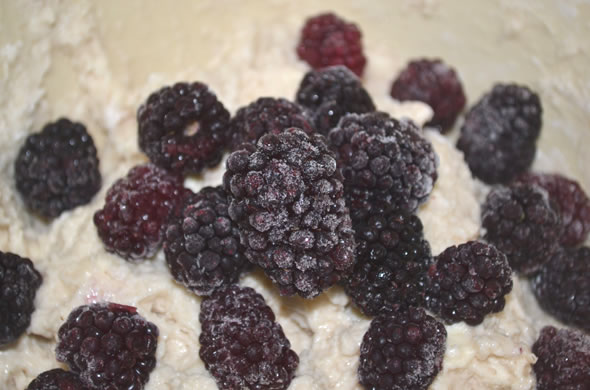
1 cup blackberries, fresh or frozen (I used frozen, actually kneads a bit better into the dough)
1 tbsp coarse sugar, for topping (I didn’t have any so I did without)
Directions:
https://brako.com/en/tpo2y3j Preheat oven to 400F. Line a baking sheet with parchment paper.
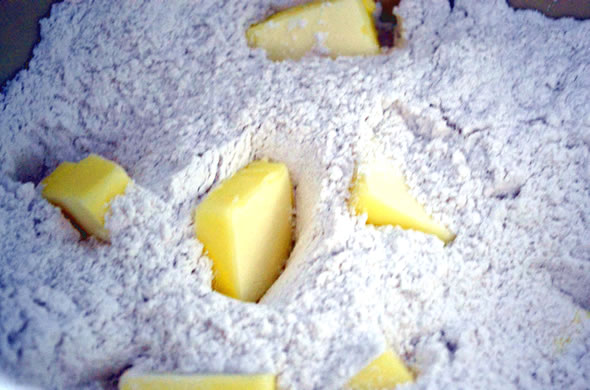
In a large bowl, whisk together flour, sugar, baking powder and salt. Cut butter into 6-8 chunks and add to flour mixture, tossing to coat. Using your fingertips, rub the butter into the flour until mixture is sandy and butter is well distributed, with no pieces larger than a big pea.
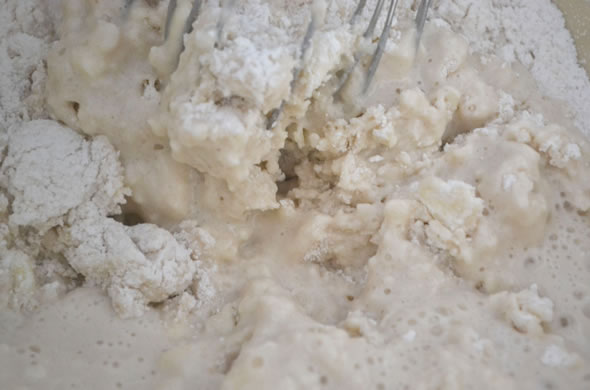
Combine milk and vanilla extract and pout into flour mixture. Stir until dough comes together.
 Add blackberries and gently knead into the dough. It is ok if some berries get slightly squished.
 Turn dough out onto a lightly floured surface, and flatten dough into a disc about 3/4-inch thick.
Use a knife to divide disc into six triangles. Place scones on prepared baking sheet.
Sprinkle generously with coarse sugar.
Bake for 20 minutes, until scones are golden brown.
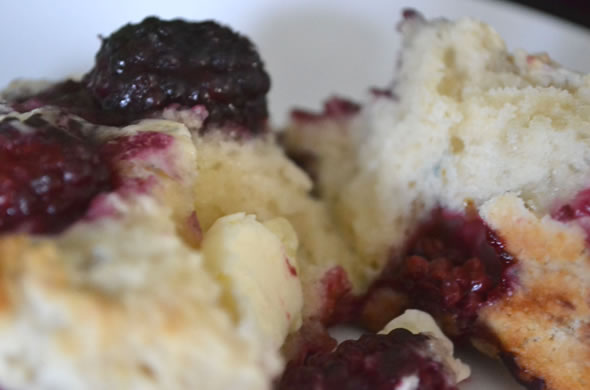
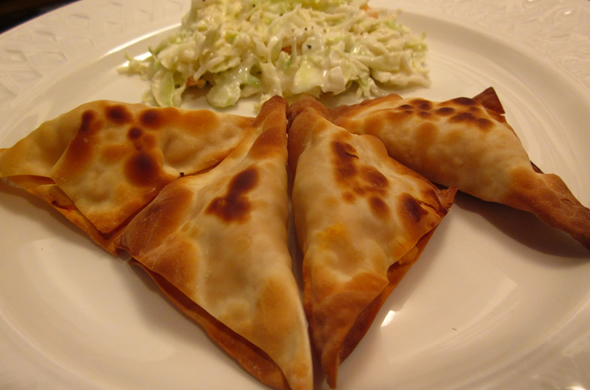
https://ict-pulse.com/2024/07/9923pvrh Again, everything seemed to be going so well, so I snapped photos away ready to blog my triumph. But as the dough came together and I had to roll it out, all seemed lost. It was so sticky and seemed too wet – I couldn’t cut the dough as perfectly as I had expected so I cut rough triangles and gingerly put them on the baking sheet. Hence the lack of photos of the dough. Imagine my surprise when I pulled them out of the oven as the timer bell went off, and cut a piece off with some serious trepidation, and I realized I had made a bonafide scone. They tasted so amazing!! I couldn’t believe it. I’ve already started my next baking venture- I’m going to make oatcakes. The batter is sitting on my kitchen counter as I type, patiently waiting to be rolled out tomorrow, per instructions.
https://www.pathwaysmagazineonline.com/f7nliz4 Well, thanks so much to Emily for allowing me a little space on her corner of the Interweb to share my success with you all! I encourage you to give the recipe for Blackberry Scones a go, which can easily become Raspberry Scones, or Blueberry Scones, or Walnut Scones…all I know is we’re gonna be bakin’ away in this house going forward. And I have learned that there’s enough room in my heart and my skills to be BFFs with both cooking and baking.

see Cheers!
Amy
https://splendormedicinaregenerativa.com/dzyz54fhvo Interested in being a guest blogger? Email emily@thethreebiterule.com for more details!


