Pasta Pie

pasta_pie_pasta_served_590_390
Dr. Seuss (whose birthday is my birthday’s eve) has a cute book people give to high school graduates about Oh, The Places You’ll Go. After celebrating all the ups he then turns to:

“Except when you don’t cause sometimes you won’t
I’m sorry to say so but, sadly, it’s true that Bang-ups and Hang-ups can happen to you.”

Then he goes into decisions and second chances yada yada yada. Well, this is how I felt making this Pasta Pie. Mostly I share my triumphs and surprises but I have a doozy for you.

I saw this recipe on Pinterest by way of another blog but it sounds like it originated with Martha. I thought it looked so fun and it seemed genius! It didn’t work that well but was still totally edible.

Ok, let’s start from the beginning.

I don’t have a springform pan. The last time I made cheesecake I figured it was safer in a circular pan anyway. Well, I have a new rockin’ baking piece from Le Creuset and I thought this Pasta Pie would be perfect in it too!
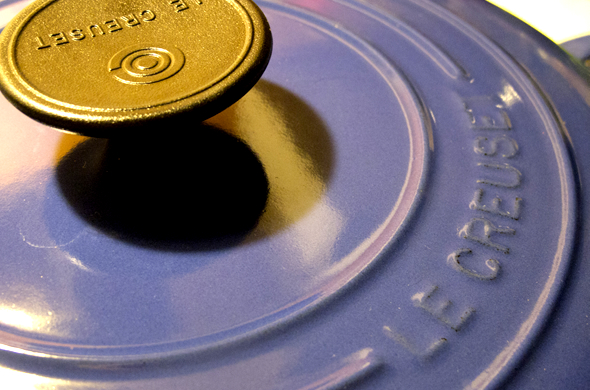
pasta_pie_lecreuset_590_390

Ingredients

1 pound rigatoni
3 cups pasta sauce
8 oz sweet Italian sausage
1 cup shredded cheese (Asaiago and Parmesan blend)

Directions

Cook pasta partially, until just before al dente (it will cook more in the oven)
Brown sausage.
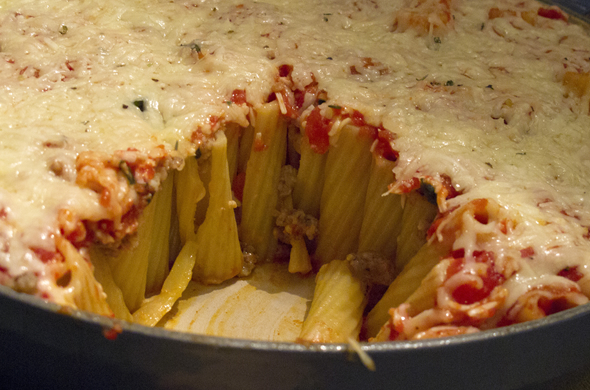
Transfer cooked pasta into baking dish or springform pan and stand up pasta.
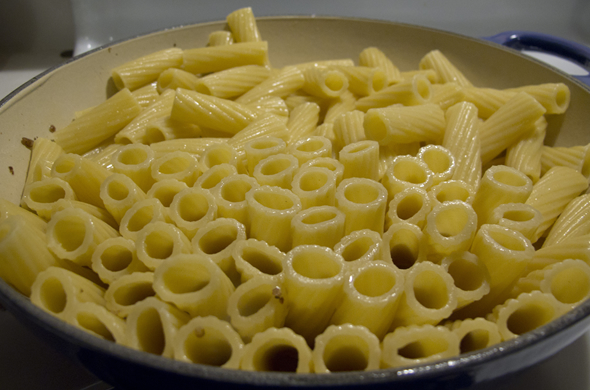
pasta_pie_pasta_standing_590_390
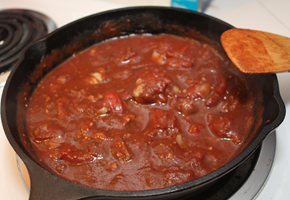
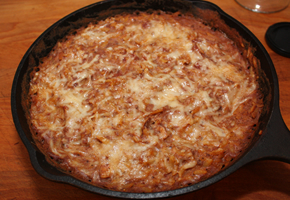
Spread sausage and sauce over the top and finish with cheese.
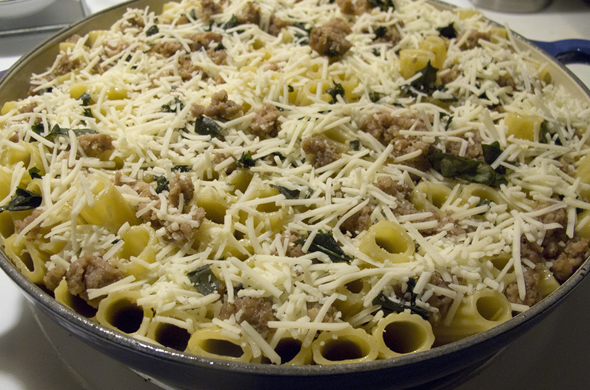
pasta_pie_pasta_filling_590_390
Bake 20 minutes at 375.

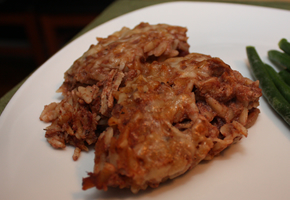
I didn’t take the time to push the meat and sauce into the upright noodles so mine didn’t stay together at all. I also think my sauce was too chunky and the sausage chunks were too big. I definitely should have tried to get it into the holes though.
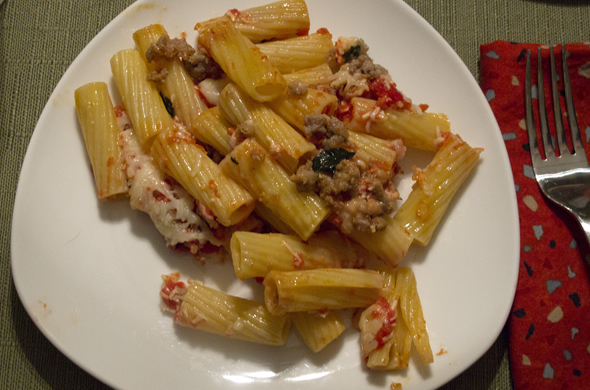
pasta_pie_pasta_plate_590_390
Standing the pasta seemed daunting at first until I figured out my technique. I couldn’t get them to stay even with the help of a wooden spoon corralling them. Then I dumped ALL the pasta in and the ones I hadn’t stood up yet helped to keep the others standing.

It actually reheated better than it was even that night. It mixed well like baked ziti would and the pasta wasn’t overdone.

They can’t all be winners…can they?
Bacon Bread

Hi, my name is Emily. I am Pintrest obsessed. “Hi Emily!”

Do you pin? It’s addicting. Pinterest is a virtual pin board.  I just love the creativity being shared on it!  It seems like such an efficient way to keep track of foods I want to make/attempt my twist on. I love introducing people to it, though I’ll warn you…if you’re on Pinterst and don’t pin then you’re a mooch! Go ahead, follow me.
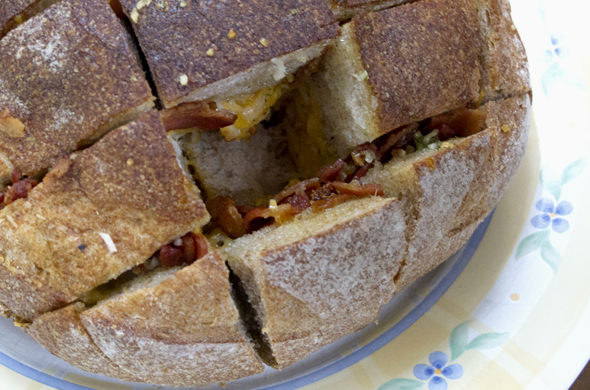
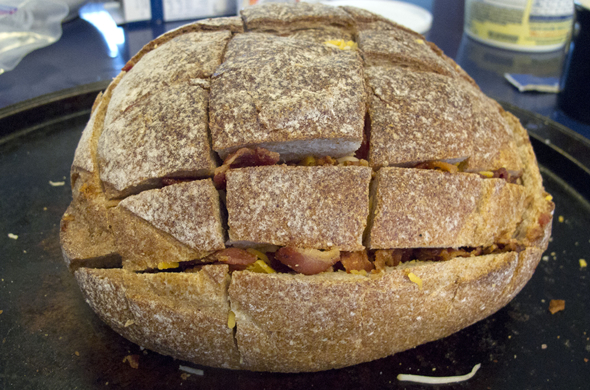
bacon_bread_done_590_390
I saw a pin from somebody’s blog that became widely popular. Cheesy bacon ranch bread. Duh, why wouldn’t that be popular?? It seems to have originated on a fun blog called Plain Chicken. Also, today is Monday and I’m worried you might not have had enough bacon in your life over the weekend. Oh, I forgot. Today is a holiday for some lucky people to continue their weekend life…not me though.

Mine wasn’t exactly to-die-for, but I think I’d attempt again. Without further ado, I give you Cheddar Bacon Ranch Pulls (from Plain Chicken)

Ingredients

1 round loaf sourdough bread
8-12 oz shredded cheddar cheese
3 oz bacon (I used 3 slices, chopped)
½ cup butter (I used ⅓ cup but should have used more)
1 tbs ranch dressing mix

Directions

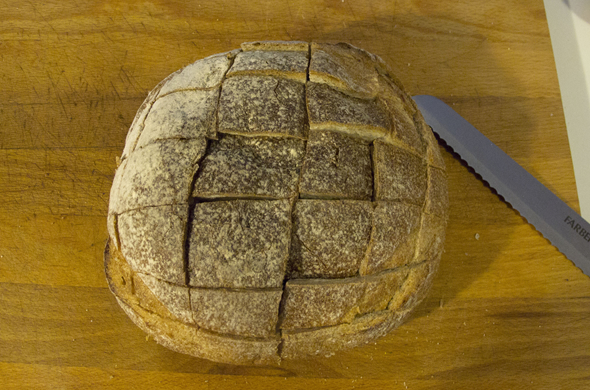
Cut bread in 1 inch slices going almost all the way through, in both directions
bacon_bread_cut_590_390
Sprinkle cheese and bacon between the cuts
Mix ranch powder and butter together and drizzle all over the top
bacon_bread_dressed_590_390
Cover with foil and bake at 350-degrees for 15 minutes. Uncover and bake another 10 minutes

I think more of everything would have made mine better. Mine didn’t open up like Plain Chicken’s. Hers is beautifully separated just waiting to be pulled apart.

I think more is more in this case, and I think it would be easier with another set of hands to separate while filling & drizzling. Maybe if there was just so much cheese & bacon then it would automatically separate the bread pulls.
bacon_bread_done_590_390
I see the potential. That blogger also made a brunch one with cinnamon & sugar which sounds good. This is a dish to eat with close friends or family. I can’t imagine a shy group getting in there and pulling it apart with you! I made this at my parents house so I prepped everything and assembled there. Can’t you tell the beautifully bright photos after I sliced in my windowless dungeon of a kitchen?

Bfast Fiasco

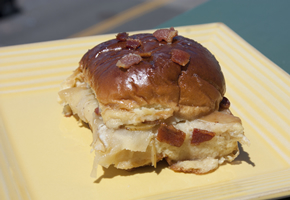
This breakfast dish was something I had been dying to make and it unfortunately was a letdown. It had such potential! I saw this Maple Bacon & Apple Stuffed French Toast and was super excited. I mean I grocery shopped specifically for this and I hate to grocery shop.
french_toast_plate_290_200
Maple Bacon? Apple? French Toast? What’s not to love, right? I don’t know if I missed the mark on this with a bunch of seemingly small mistakes or if I just didn’t have the touch. Here it is, done right, by Kitchen Runway.If you’re intrigued, and want to prove me right/wrong go ahead with Kitchen Runway’s ingredients & directions since clearly theirs was successful.

Maple Bacon & Apple Baked French Toast

Ingredients:

21 King’s Hawaiian Sweet Rolls (I used potato rolls)
10 slices of maple bacon
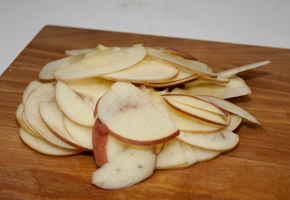
1 large Fuji apple, peeled, cored, quartered and sliced
1 Tbs maple syrup
8 large eggs
2 C whole milk (this could be one of my problems)
½ C heavy cream
3 Tbs sugar
1 tsp vanilla extract
1 tsp cinnamon
Pinch of salt

Topping:
8 slices of maple bacon (~9 oz), cooked and crumbled
½ C powdered sugar
2 Tbs + 1 tsp maple syrup
1 tsp milk

Directions:

Quarter the rolls and place in a single layer on a baking sheet to dry out while you prepare the rest of the recipe steps.

Preheat oven to 325º F.  Line a baking sheet with foil and place bacon in a single layer and bake for 35 mins.  Remove from oven when done and place bacon on a paper towel to drain fat.  Crumble bacon or use a knife to chop the bacon.  Set aside.

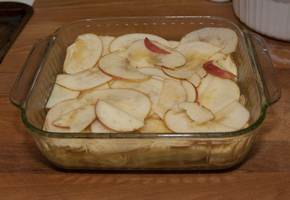
Place sliced apples in a bowl and add maple syrup and stir to combine, set aside. (I used a mandolin and cut 2 fingers…bandaging myself delayed everything a bit. Chunks would have been better anyway.)
french_toast_apples_290_200

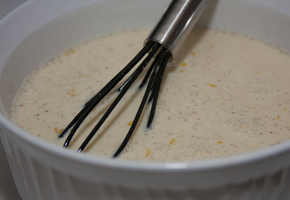
In a large bowl, whisk together eggs, milk, cream, sugar, cinnamon and salt until combined.
french_toast_mix_290_200

Grease a 9 x 13 baking dish with butter and place half of the bread in a single layer in the bottom of the dish.  Cover bread with ½ of the egg mixture.  Place remaining bread into the egg mixture and stir to coat.
french_toast_layered_290_200
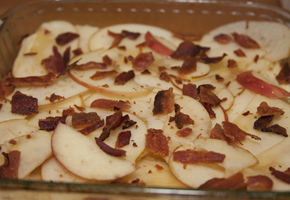
Place sliced apples on top of the bread in a single layer and sprinkle the bacon on top.

french_toast_layered_bac_290_200
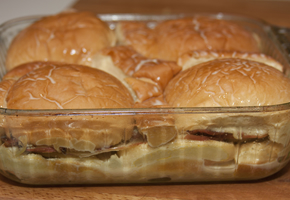
Gently place the remaining bread on top of the apple and bacon layer.  Pour remaining egg mixture to the baking dish. Cover with foil and refrigerate overnight. (hmmm. I think I gave it an hour in the fridge)

The next day:  preheat oven to 350º F.  Place dish on middle rack and bake for 60 minutes or until golden brown and puffy.  If the French toast is browning too quickly, tent the baking dish with foil.
french_toast_layered_top_290_200
In the meantime, you can cook the bacon for the topping on the stove top or bake until crispy. (I used reserved bacon from the filling prep)

In a small bowl, whisk powdered sugar, maple syrup and milk.

Sprinkle bacon on top of baked French toast and drizzle with maple glaze.  Serve with additional maple glaze or syrup if you like. (my glaze needed more powdered sugar)
french_toast_plate_290_200
Can’t win ‘em all. I re-tried it the next day, because things are better after chill-axing. No such luck. One of the very few items I bake is a chocolate bread pudding…not much different than this but that is fool-proof and this stuffed french toast proved problematic. Ohh well, onto the next.

Baked Orzo Flop

I thought I was super clever when I started waking up earlier. This gave me the chance to get stuff done before leaving for work. I unloaded the dishwasher, I poked through my RSS feeds, and I planned dinner.

Once again, I started thinking about what I could make with what I had around…anything to avoid grocery shopping. Baked Orzo came to mind and I thought a Greek dish was exactly what I wanted. I had orzo, artichokes, tomatoes and high hopes for this quick meal.
orzo_plate_290_200

Ingredients

1/4 pound Orzo
1 tbs garlic
1 jar artichoke hearts
1 cup plum tomatoes in liquid
½ cup red wine
½ tsp cinnamon
½ tsp oregano
1 tsp cumin

Directions

1) Cook orzo
2) Saute garlic, atrichoke hearts, and tomatoes with liquid on medium high.
3) Add wine and spices and simmer for 5 minutes.
orzo_skillet_290_200
4) Turn to low and stir in orzo.
5) Sprinkle with Parmasan before baking for 20 minutes.
orzo_baked_290_200
Partway through my super speedy meal I hear:
Mr. J: is there cumin in there?
me: yup
Mr. J: ohh ok.
me: why?
Mr. J: ohh. {silence} Cumin is not my favorite.
me: hmmm

That’s where the dish goes awry…but it didn’t have to. I wanted to mellow out the cumin so I peek into the fridge and spot 2 ingredients I think will make the spices not taste as strong. Ricotta or sour cream. I went with the former. I had been a bit heavy handed with the wine so already my Baked Orzo had lost the great red color from the tomatoes (the wine made it a bit purpley).

I chose ricotta thinking it would be creamy and rich. It was indeed creamy but it also wasn’t smooth & silky. It was a bad choice, but you know…they can’t all be winners.

After I got it going I wasn’t feeling great about it. I actually said we might need to order pizza (which we never do to replace a meal). Mr. J was a trooper and ate it. It wasn’t amazing but I think it easily could be a great dish.

This Baked Orzo sounded amazing and is my inspiration to give it another go!

Better luck next time. Spoiler alert: I’ve since grocery shopped.